Software Required:
-
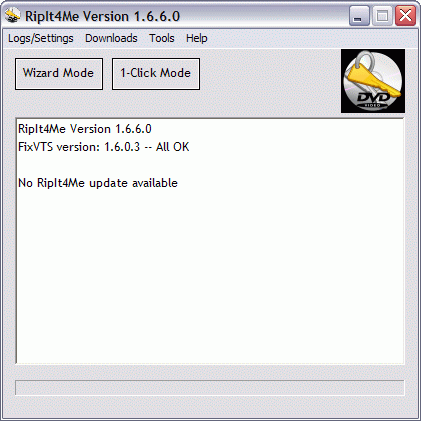
Start RipIt4Me. If updates are available, make sure you retrieve them and restart RipIt4Me.
-
If this is the first time you are using RipIt4Me, click here for instructions on setup
-
Click Wizard Mode and select Movie only from the Ripping settings
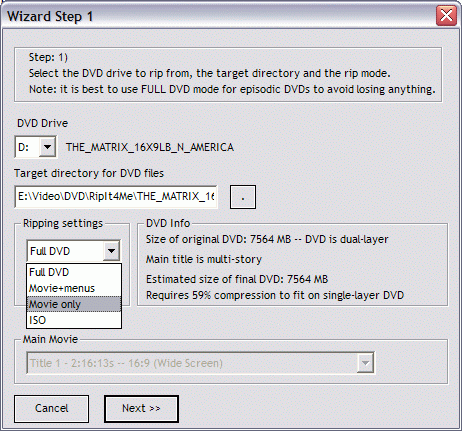
Click Next >>
-
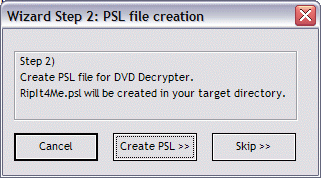
Click Create PSL >> to create a protected sectors list for DVD Decrypter
-
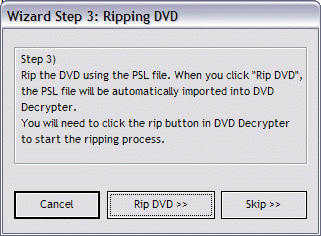
Click Rip DVD >> to start DVD Decrypter
-
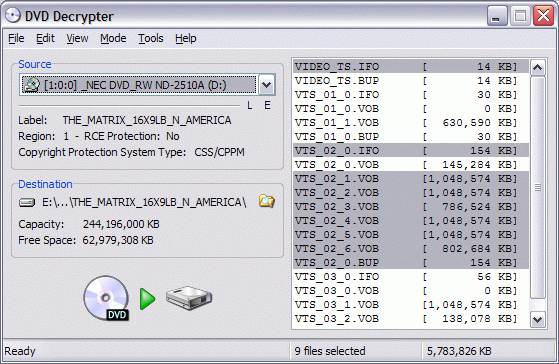
DVD Decrypter automatically imports the protected sectors list from the previous step
-
If this is the first time you are using DVD Decrypter, click here for instructions on setup
-
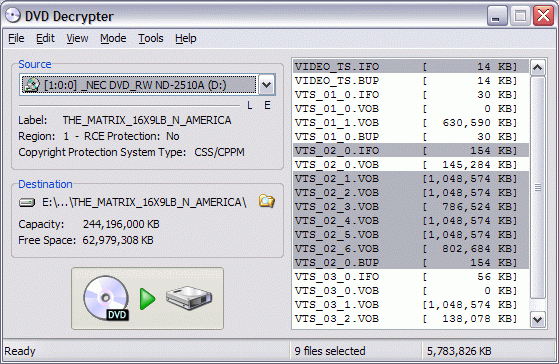
Click on the large DVD-to-drive button to start the primary ripping process
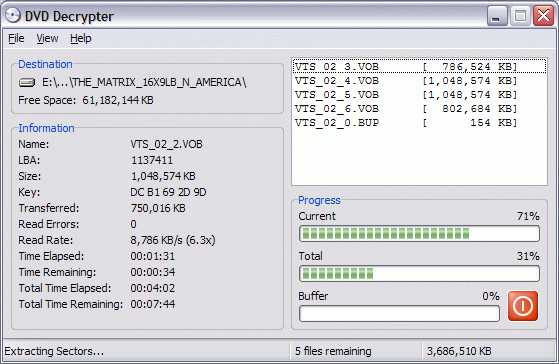
DVD Decrypter will close automatically when it's done
-
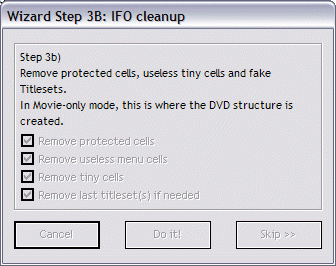
Click Do it! to start the quick RipIt4Me IFO cleanup
-
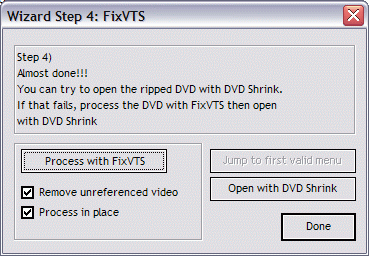
Click Process with FixVTS to launch FixVTS
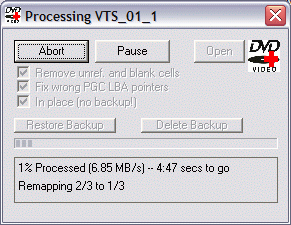
FixVTS will close automatically when it has finished
-
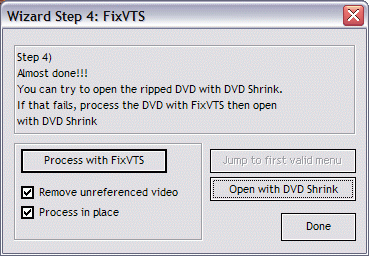
Click Open with DVD Shrink to launch DVD Shrink
-
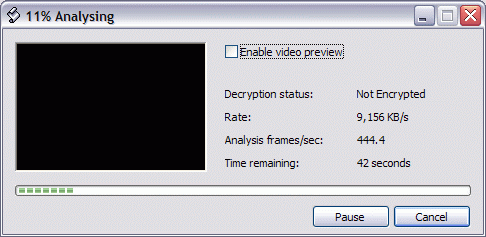
DVD Shrink begins to analyze the video files
-
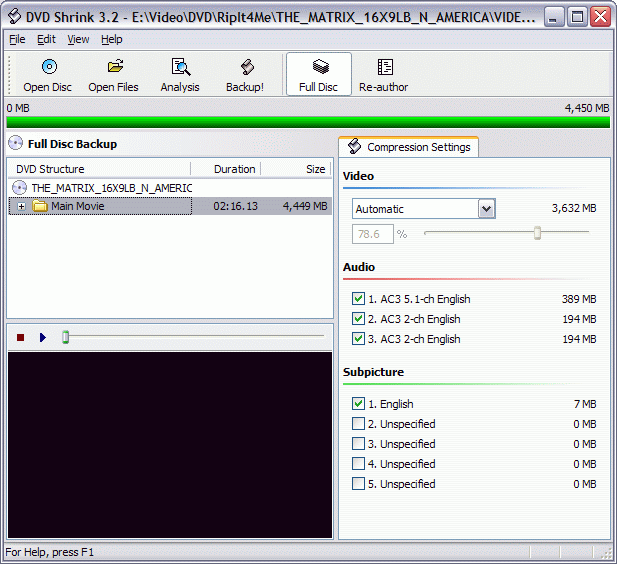
DVD Shrink is now ready
-
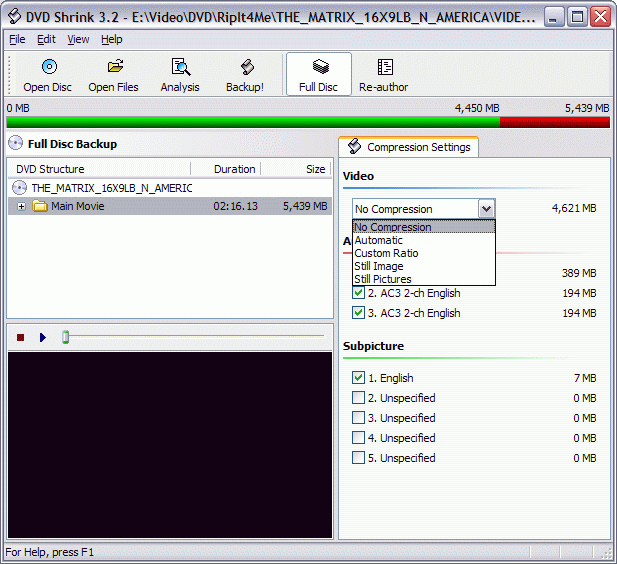
Set all streams (there should only be one) to No Compression. You may optionally remove secondary audio streams if they are not relevant to the movie (such as 2.0 vs. 5.1, director's commentary, alternate languages, etc.)
-
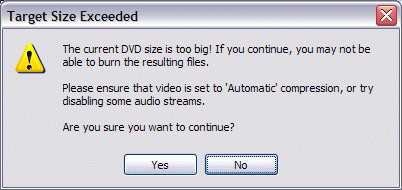
Click the Backup! button. If you are prompted by this error, click Yes to continue anyway.
-
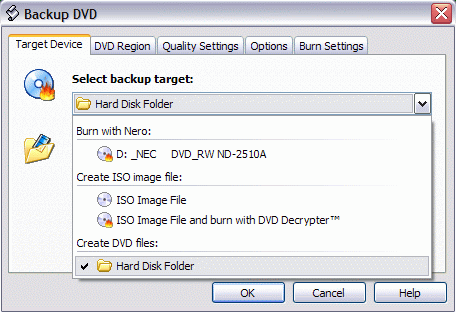
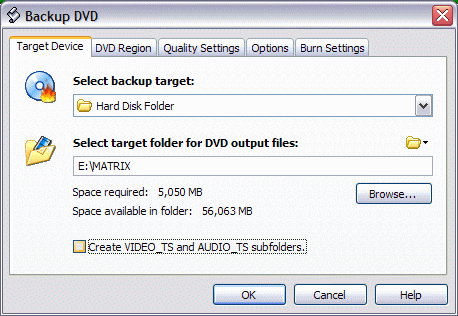
Change the backup target to Hard Disk Folder
-
Turn off Create VIDEO_TS and AUDIO_TS subfolders
-
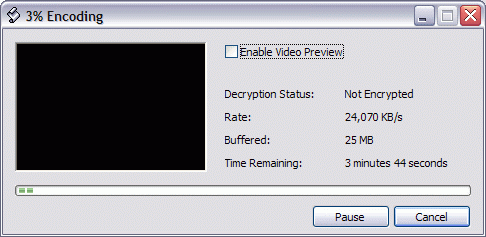
Click OK to start the encoding process
-
When it finishes, DVD Shrink will give you this message
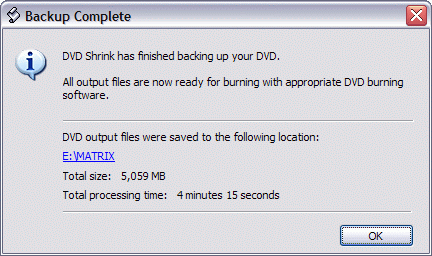
Click OK and close DVD Shrink
-
Close RipIt4Me
-
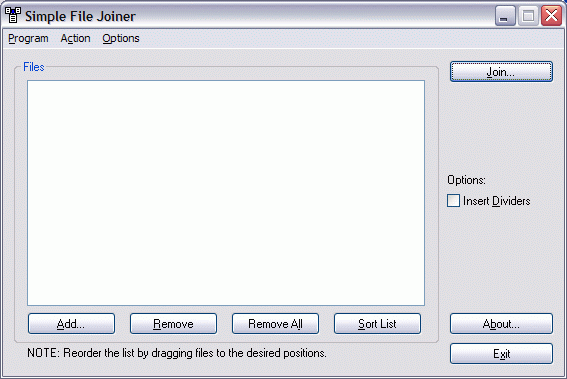
Start Simple File Joiner
-
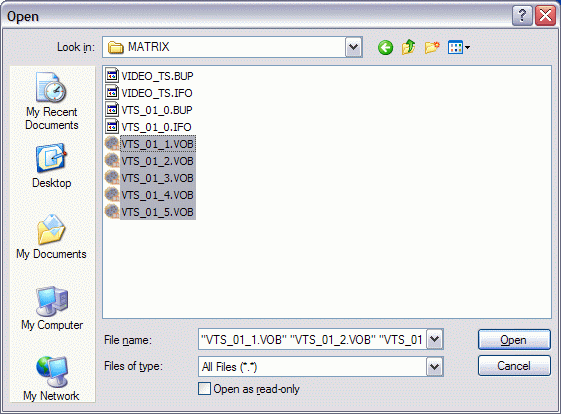
Add each of the video .VOB files, carefully making sure they are in the correct order
-
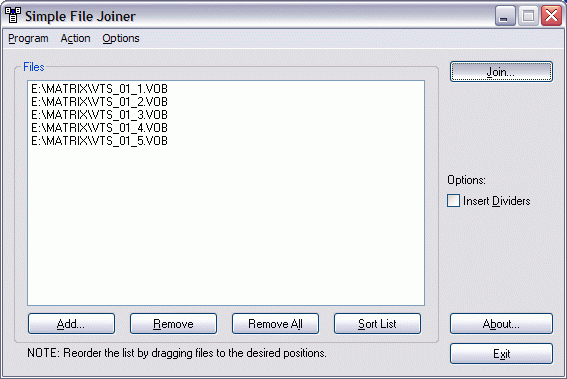
Click the Join... button
-
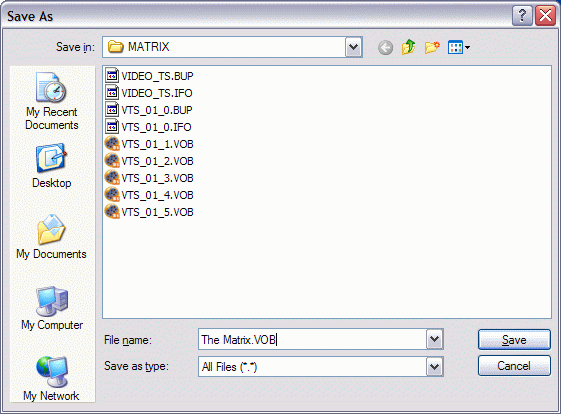
Enter a filename to join all of the .VOB files to. I typically recommend naming it Movie Title.VOB for clarity
-
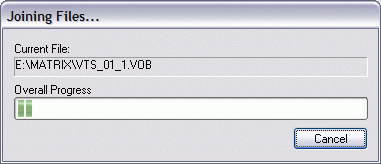
Click Save and Simple File Joiner will begin joining the files together
-
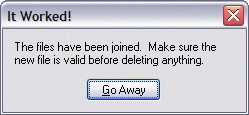
When it has finished, click the Go Away button and close Simple File Joiner
-
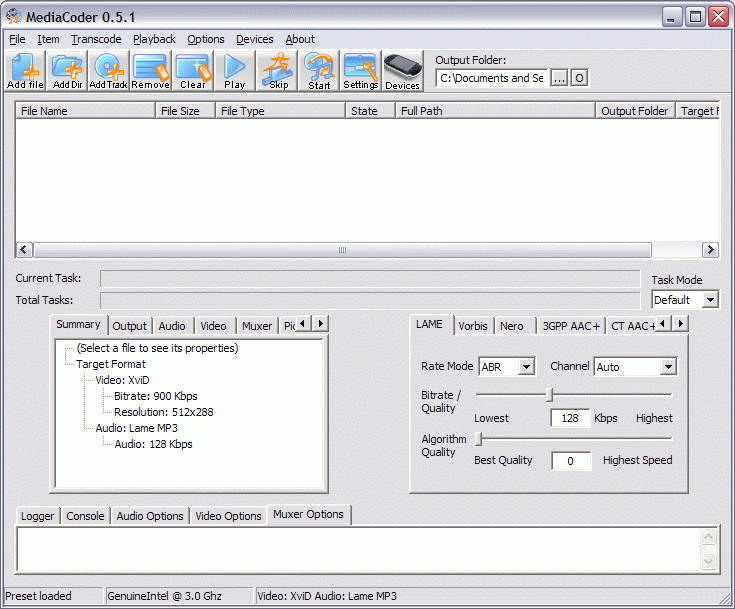
Start MediaCoder
-
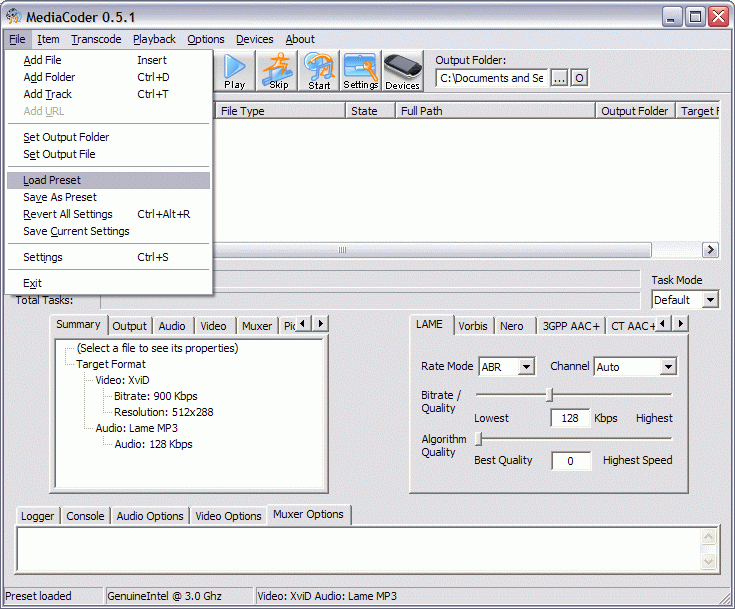
Click File -> Load Preset
-
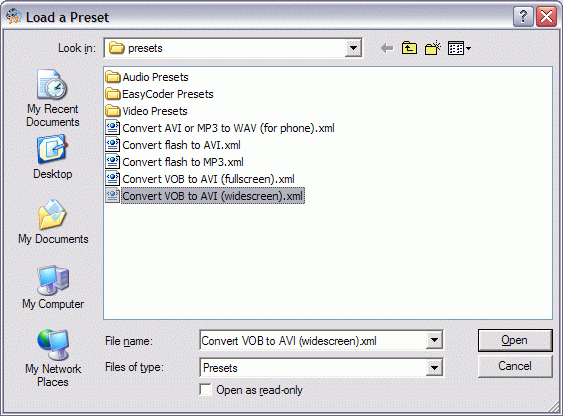
Choose the Convert VOB to AVI preset (using widescreen or full screen, where appropriate)
(if you do not have these presets, download them here and extract them to
C:\Program Files\MediaCoder\presets)
-
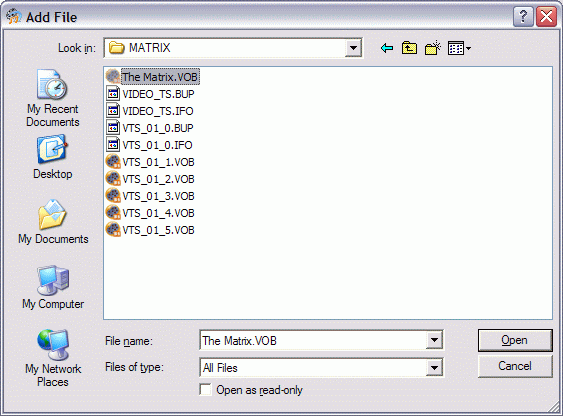
Select the large .VOB file we built using Simple File Joiner and none of the others (they can be deleted). Sometimes MediaCoder will report the wrong file size for the large .VOB (for example, it told me that my The Matrix.VOB file was only 1.3 GB when Windows told me over 5 GB). This is fine and will not cause any problems.
-
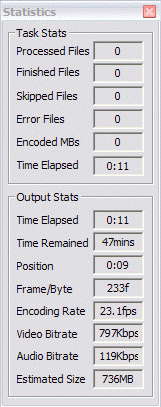
Click Start to begin the transcoding process. You may wish to change MediaCoder's output and/or working folder settings prior to starting.
-
That's it! You are done!
Enjoy your movie.
|

