Software Required:
-
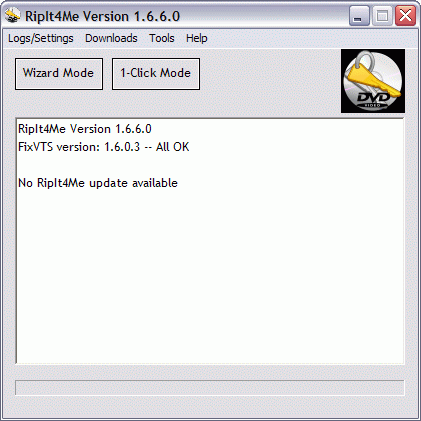
Start RipIt4Me. If updates are available, make sure you retrieve them and restart RipIt4Me.
-
If this is the first time you are using RipIt4Me, click here for instructions on setup
-
Click Wizard Mode and select Full DVD from the Ripping settings
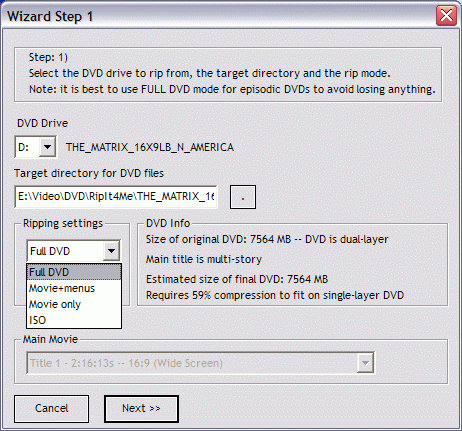
Click Next >>
-
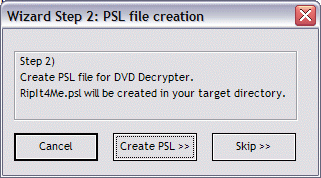
Click Create PSL >> to create a protected sectors list for DVD Decrypter
-
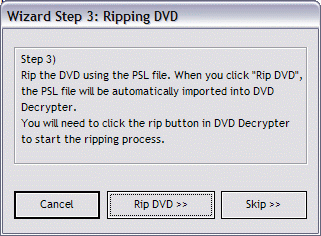
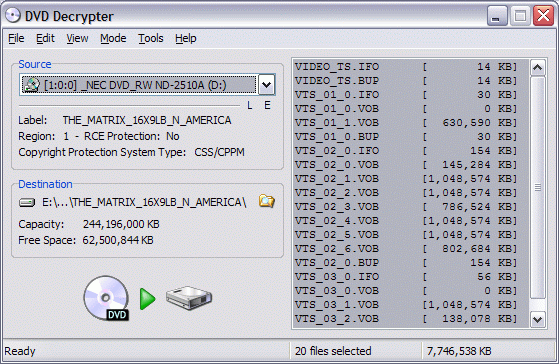
Click Rip DVD >> to start DVD Decrypter
-
DVD Decrypter automatically imports the protected sectors list from the previous step
-
If this is the first time you are using DVD Decrypter, click here for instructions on setup
-
Click on the large DVD-to-drive button to start the primary ripping process
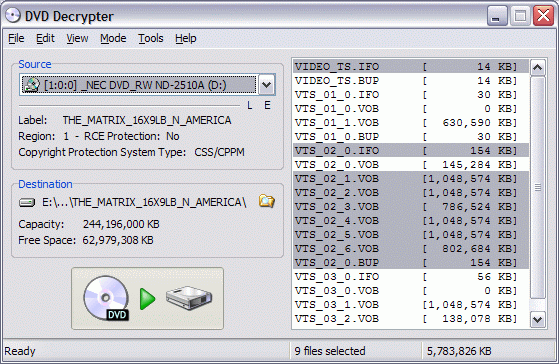
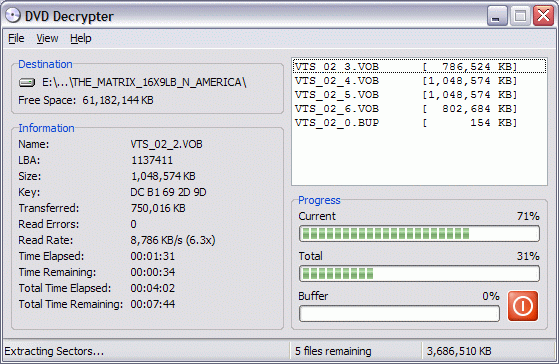
DVD Decrypter will close automatically when it's done
-
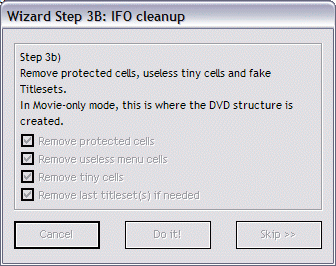
Click Do it! to start the quick RipIt4Me IFO cleanup
-
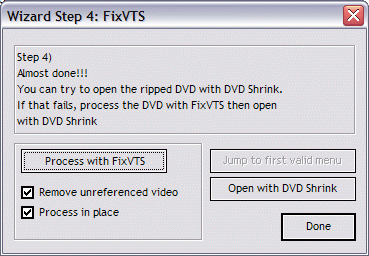
Click Process with FixVTS to launch FixVTS
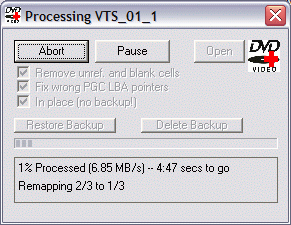
FixVTS will close automatically when it has finished
-
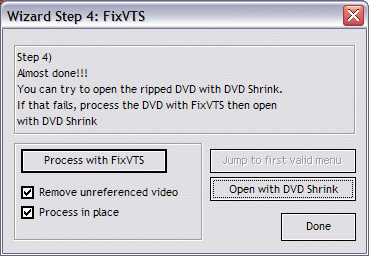
Click Open with DVD Shrink to launch DVD Shrink
-
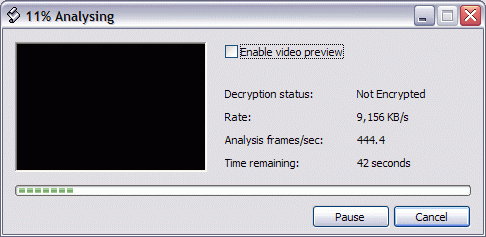
DVD Shrink begins to analyze the video files
-
DVD Shrink is now ready
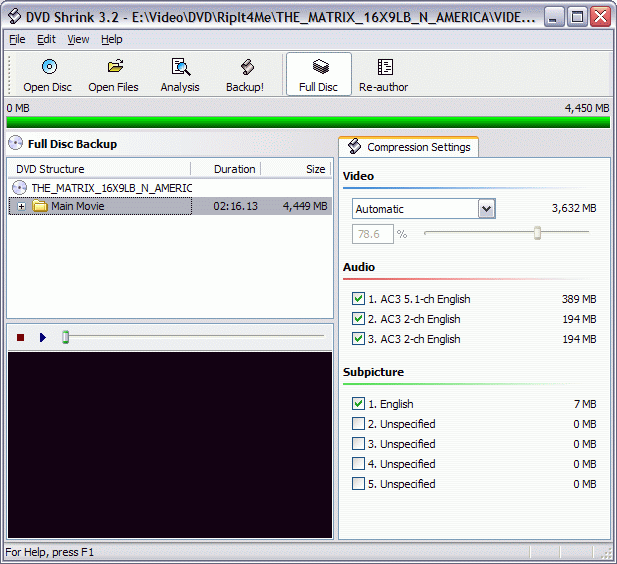
-
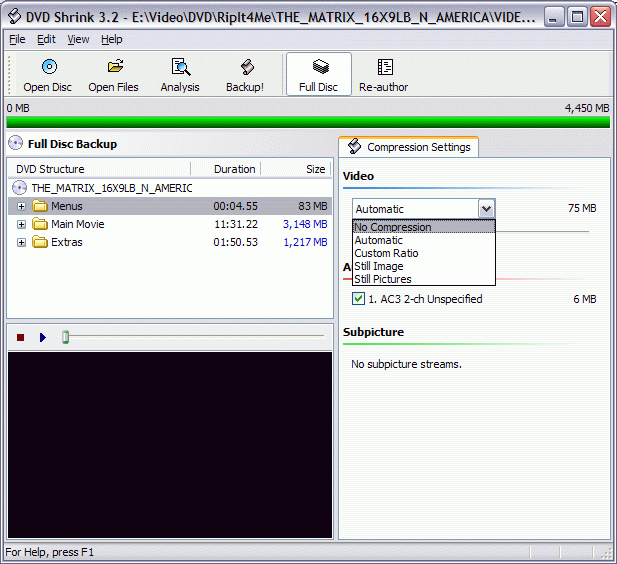
Set the Menus stream to No Compression. Sometimes there is also an Unreferenced Material stream. If so, set it to No Compression also (this is very important).
-
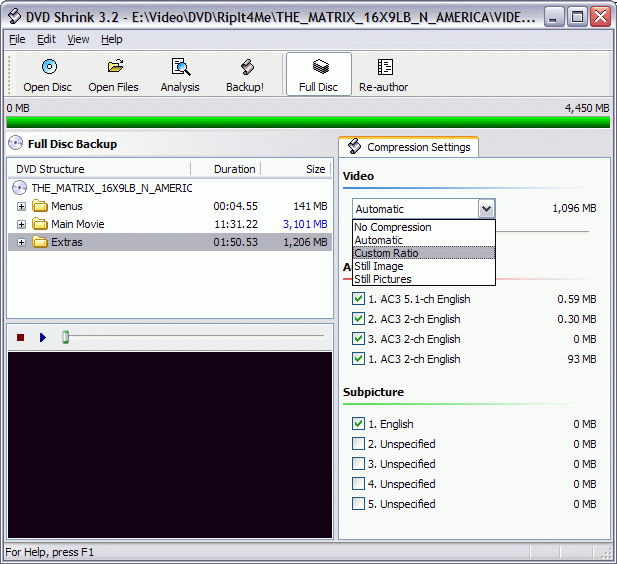
Set the Extras stream to Custom Ratio
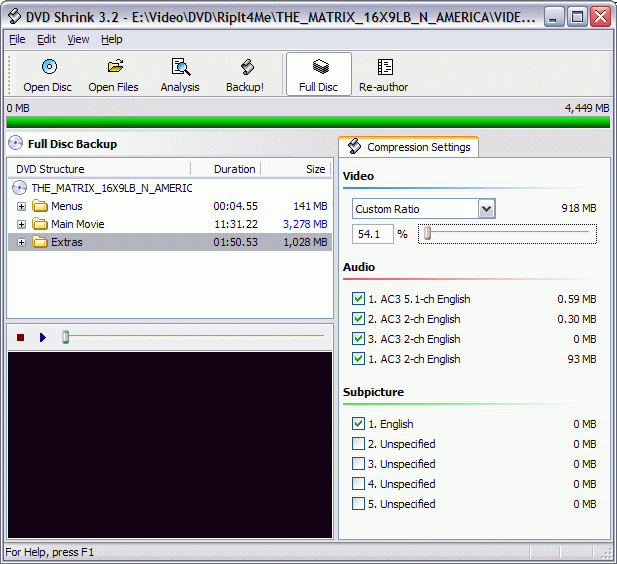
And set the slider all the way to the left as far as it will go
-
Click the Backup! button..
-
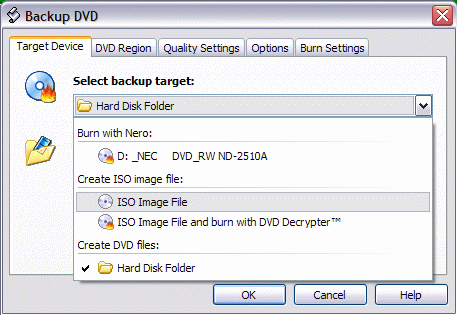
Change the backup target to ISO Image File
-
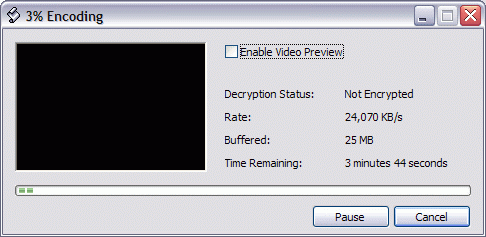
Click OK to start the encoding process
-
When it finishes, DVD Shrink will give you this message
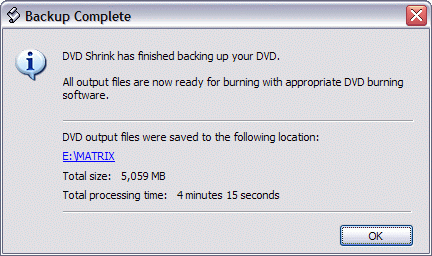
Click OK and close DVD Shrink
-
Close RipIt4Me and use your favorite DVD-burning software to burn the ISO image directly to a blank disc
-
That's it! You are done!
Enjoy your movie.
|

